Unlock the full potential of Pihole
 Pihole
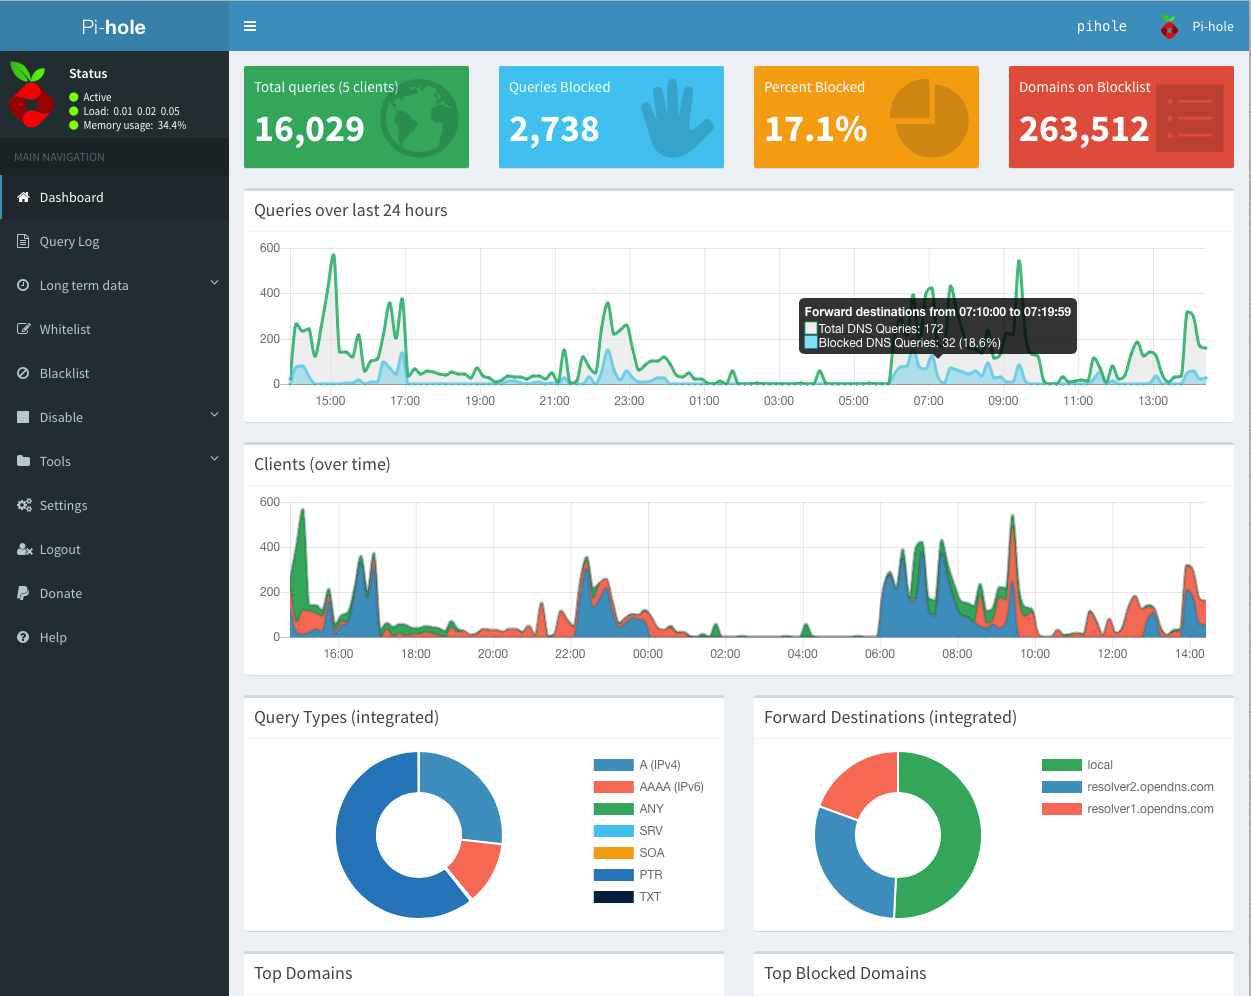
dashboard
** Foreword** : I’m fascinated by technology and I wanted to share my findings while expirementing with Pihole. I’m not personally against advertisement companies as long as they’re not too intrusive. Pihole is advertised as an ad blocker, but it’s actually an amazing tool for protecting your own network from malwares and so on. I also keep my blog updated with new articles with my consulting company, you can check at https://cdcloudlogix.com/blog for more information :)
I. Requirement and installation
tarting point of our journey, I will cover this part really quickly as you can find many guideline online for installing Pihole.
I’m ersonally using Pihole installed on a Raspberry pi , I gave a fixed private IP on my network where I’m redirecting all my DNS queries. You need to have some basic knowledge of Linux command lines for installing Pihole, here is a link to the official documentation from Raspberry pi on how to operate the Terminal.
If you have some experience using Terminal, you can then start Pihole installation by simply using:
This command will proceed automatically to this installation. For more information and guidelines, have a look on the official Pihole documentation.
II. Pihole Dashboard
nother part I will cover quickly, Pihole Dashboard is rather self explanatory. Once you completed the previous installation in part I, open your fav browser the following address:
 Pihole
Dashboard
The password for login tab is randomised and given after the installation in your terminal, you can always reset it by using in your terminal:
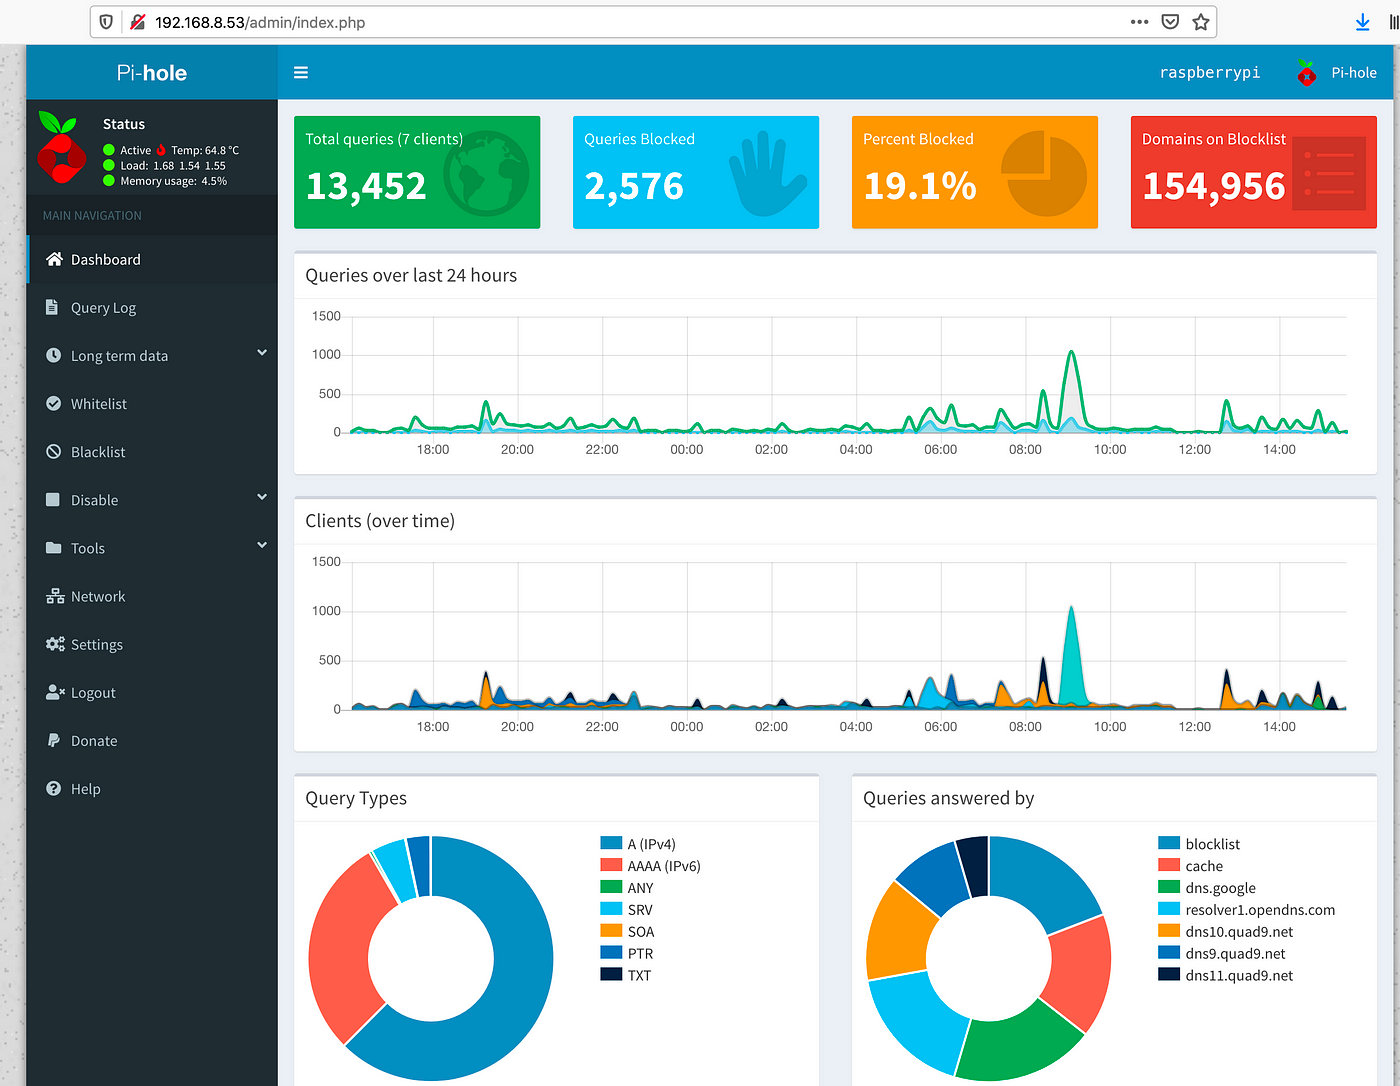
You will then be presented with this detailed dashboard:
 Pihole detail
dashboard
This Dashboardwould allow to access most of the Pihole controls such as DHCP, DNS configuration and so on as well as reloading the configuration. Dashboard does help troubleshooting and visualising the global amount of dns request traffic, something you will need once we unlock the full potential of Pihole by using the command line in the next following parts.
III. Community filter lists
irst step to make the most of your new toy would be to utilise the list of filtered domains already gathered by the community. The website filterlists.com contains the primary main elements for helping you to block:
- Spyware domains
- Malware domains
- Coinmining networks
- Ransomware domains
- Phishing domains
- Trackers and Analyticals domains
 Pihole logo is
displayed when the filter is compatible with Pihole
To implement one of the filter, select the one you’d like to use and right click on the link “ 🔎 View” and select Copy link location. From there, open your terminal and paste this URL in the /etc/pihole/adlists.list file. Once completed, reload Pihole configuration by using pihole -g command. Here is an example of the output of this command:
These external filter list are maintained and updated some time to time, I would advise to make use of a [Cron job](https://help.dreamhost.com/hc/en- us/articles/215767047-Creating-a-custom-Cron-Job) in order to keep these list up to date by using the above command on a weekly basis.
As a starting point, here is my list of filters implemented on my personnal Pihole:
IV. Dynamic DNS naming
or fun and to challenge myself, I wanted to understand how to block Youtube ads on my AmazonFireTV. Youtube streaming service is using “ .googlevideo.com” as the main domain name for videos as well as for ads.
Many have been trying and for quite sometime to recognise the pattern used by Youtube to inject Advertisement, (check this Discourse pihole thread started in 2016) and here is little documentation on How to do this.
Update : Youtube Ads are no longer blocked by this method, Youtube integrates their ads within the same stream of data (which means blocking ads with DNS naming is no longer working. There’s perhaps another solution using a proxy for all of your HTTPS traffic that would be decrypt your secure traffic on the flight and denied ads traffic. It does require root access to phone / apps. Some solutions out there are avaible but you end up sending all your sensitive traffic to who knows where. At the end, I just use webapps (different from mobile app) on my phone where I keep control of my data and can deny Ads Traffic ;)
- Add Python3 and pip on your pihole device
Install them this way:
Link python3 to your user environment:
Verify:
2. Make use of Sublist3r script:
Create a folder for hosting this Github repo(Instructions are also present there):
Download and unzip this project:
This script will help us to retrieve dynamic subdomains created and generated by youtube (googlevideo in this case). I used to get these subdomain by using DNSDumpster but that was limited to only 100 domains (thank you to my readers for pointing that out). With this method, you should get routhly around 700+ subdomains.
3. Final script to implement the magic:
Sublist3r would also require some packages to be installed alongside, (instructions are also on Github), install them as follow
You should be able to test this script this way:
Now, I’m using this script for filtering the desired traffic and adding this to my blacklist file in Pihole (script path: /etc/pihole/youtube-ads.sh ):
This script is divided in several parts:
- Retrieve subdomains from Sublist3r
- Filter them, place findings in blacklist file and curate the results.
- Use a
xargspipe to populate pihole db based on finding
I’m running this twice a hour with a cronjob (don’t forget to make this script executable with chmod ):
This configuration has been running for a while and I do have some time some ads on my FireTV or Youtube App on my phone. Overtime, the cronjob would collect subdomains and add them to your pihole file, which would limit the number of ads you’d be expose to.
Feel free to contact me if you want to share your ideas.
V. Regex blacklisting
inal part of this publication, you can also leverage the use of implementing a list of regex matching the domain names that you wish to deny.
I used to make use of that in the past with previous versions of Pihole, somehow, blacklisted domains redirected to a whitelisted CNAME were actually bypassing Pihole. I’m not having anymore this issue in Pihole version 5.1 :
Previously, the only way for blocking this traffic was actually the use of Regex, by simply a list of pattern in this /etc/pihole/regex.list file. Here is an example:
VI. What next?
I will keep this publication up to date with the latest. Things keep moving fast, especially the new implementations such as DNS over HTTPS and I wonder how Pihole would involve and adapt with this technology.